Integrate Appwrite inside React projects
Striving to solve real-world problems with the design and code that revolves around crafting delightful human experiences
Are you wondering, What is Appwrite? Well, Appwrite is a self-hosted solution that provides developers with a set of easy-to-use and integrates REST APIs to manage their core backend needs. It is a low-code application development platform that enables you to quickly build web & mobile apps without any hassle.
Appwrite is a powerful UI and a robust backend as a service for building mobile apps on iOS, Android platforms, and web platforms. Appwrite and Flutter can generate Android, iOS, and web screens from a single codebase.
You can simply call it a Secure Open-Source Backend Server for Web, Mobile & Flutter Apps.
I know That's not enough of the introduction. But, I have your back again. Please go through my previous blog on Appwrite's Introduction and why it's a must-try for every developer. Come back to this blog after reading the previous one.
Now,

Being a react dev myself, I decided to try Appwrite for my small project and the results turned out to be interesting. So, I thought of sharing my learnings with you guys.. Okay, so If you have experience with Backend-As-A-Service platforms like Firebase, this will definitely be easier for you to pick up.
Let's start with Appwrite's Installation.
Create a project folder, e.g.,
mkdir Appwrite-ExpenseTrack
cd Appwrite-ExpenseTrack
Appwrite
Conveniently, Appwrite is packaged as a set of Docker containers, making it easy to run using Docker CLI, on your local machine or a cloud provider of your choice. You can find the installation instructions in the official docs. For v0.8 (the latest version of Appwrite at the time of writing), run the following docker command in the project folder.
Bash (Unix)
docker run -it --rm \
    --volume /var/run/docker.sock:/var/run/docker.sock \
    --volume "$(pwd)"/appwrite:/usr/src/code/appwrite:rw \
    --entrypoint="install" \
    appwrite/appwrite:0.8.0
CMD (Windows)
docker run -it --rm ^
    --volume //var/run/docker.sock:/var/run/docker.sock ^
    --volume "%cd%"/appwrite:/usr/src/code/appwrite:rw ^
    --entrypoint="install" ^
    appwrite/appwrite:0.8.0
PowerShell
docker run -it --rm ,
    --volume /var/run/docker.sock:/var/run/docker.sock ,
    --volume ${pwd}/appwrite:/usr/src/code/appwrite:rw ,
    --entrypoint="install" ,
    appwrite/appwrite:0.8.0
Once installed, you can access the Appwrite console on http://localhost/ (default setting). Create an account and log in. You will be prompted to create a project when you log in.
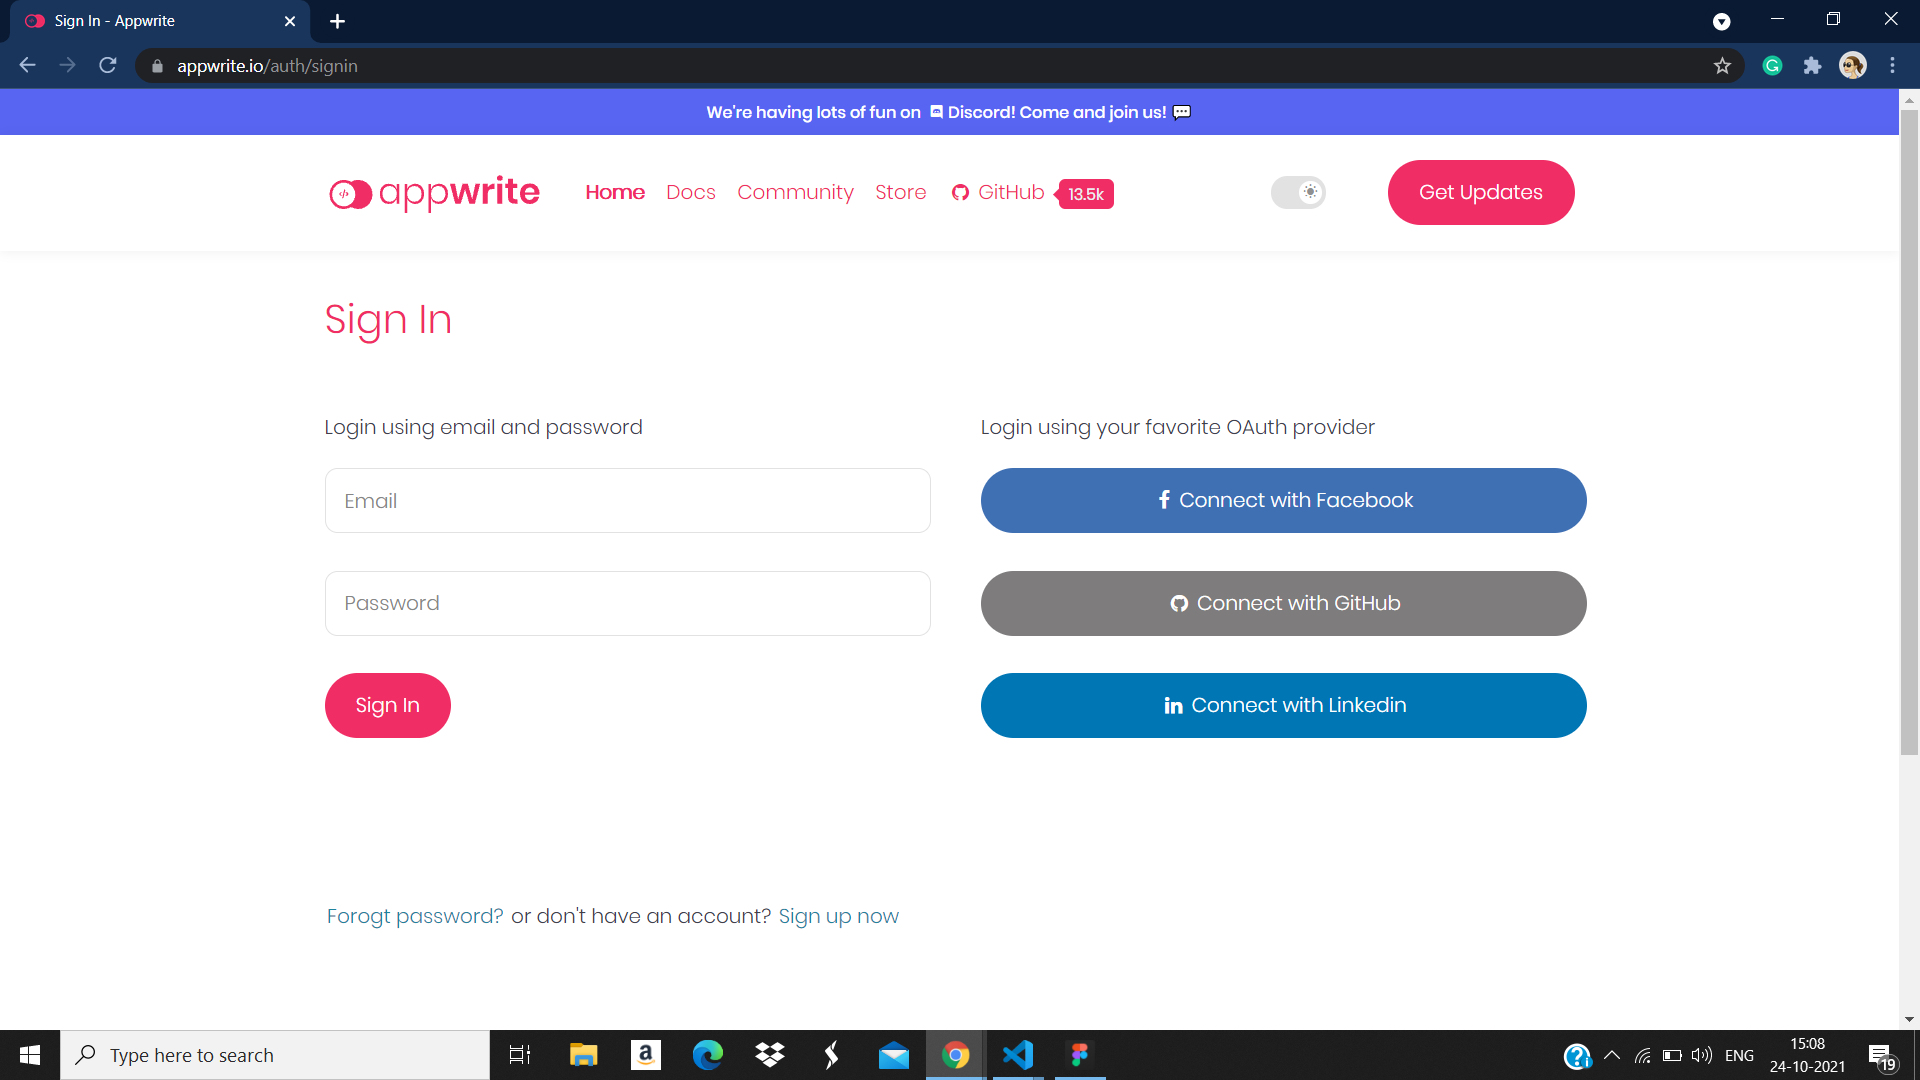
After you're logged in, click on Create Project and type whichever name is closest to your heart for your project.
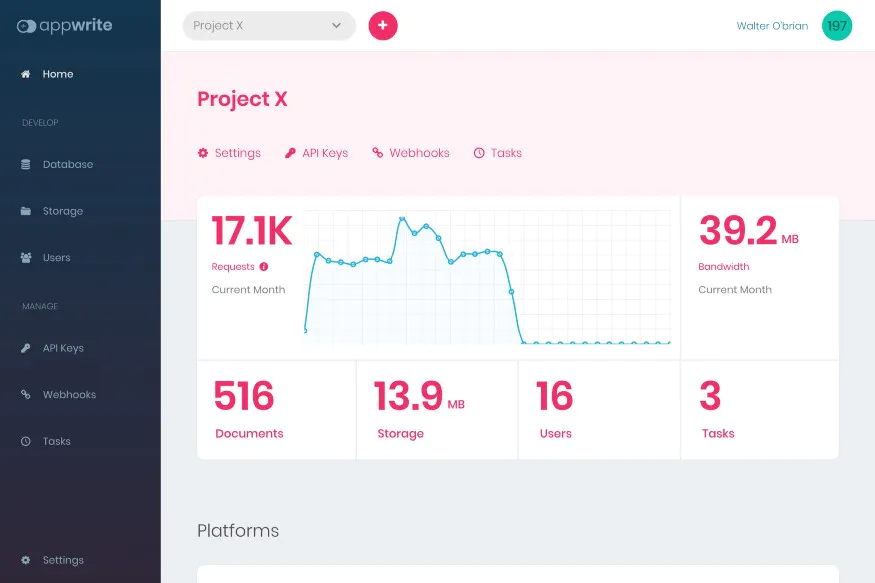
After you are done with the name, then hit the Create button. It would show the following dashboard with your new project statistics
Now, you can create a database (or collection) that would store the details of all the folks that signup or any interaction or details they reserve on your app. For, that hit on the Database button on the very right, just below the Develop section of the Navbar. It should show up as follows:
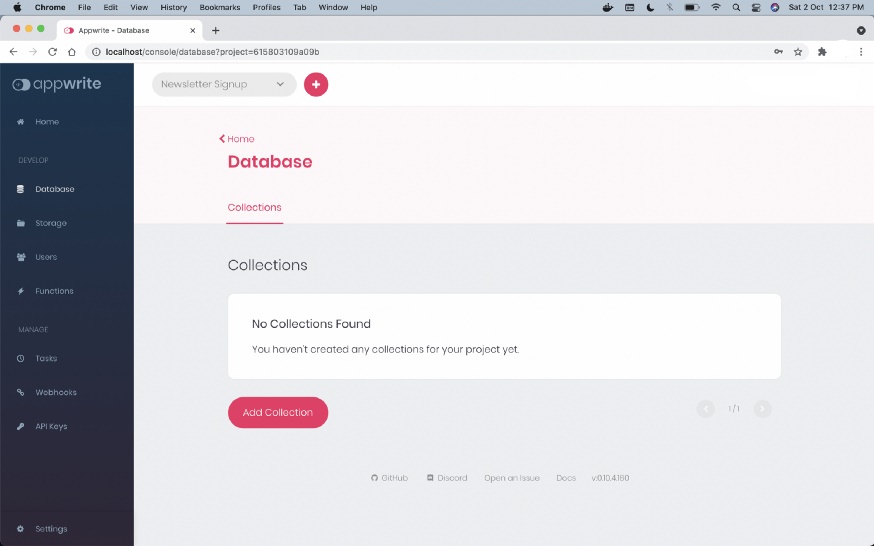
Now click on Add Collection and give a name to your collection <> After that hit create button and boom it's done!!
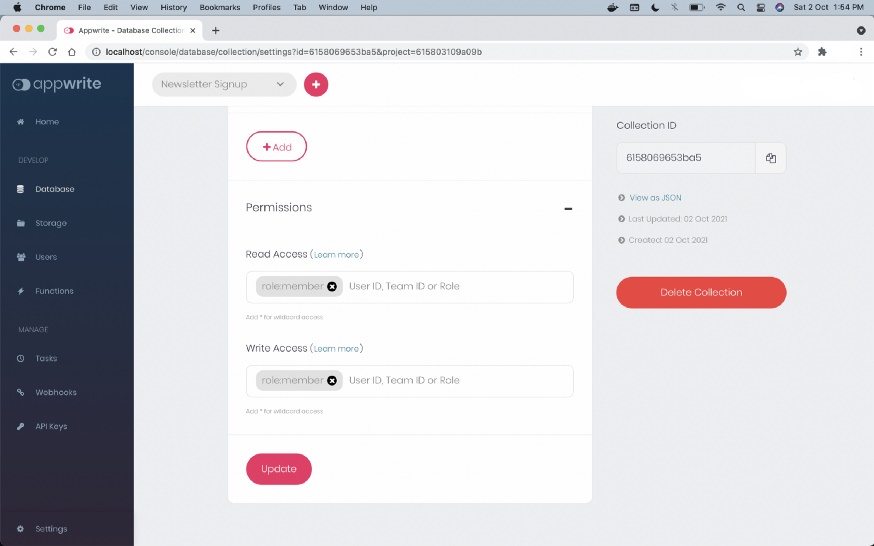
Now, you can set up some rules and manage permissions for those roles like this..
Now, Our working on Appwrite app is almost done and we'll be heading to our react app integration. But, before that, you just need to retain a few more things from your Appwrite project.
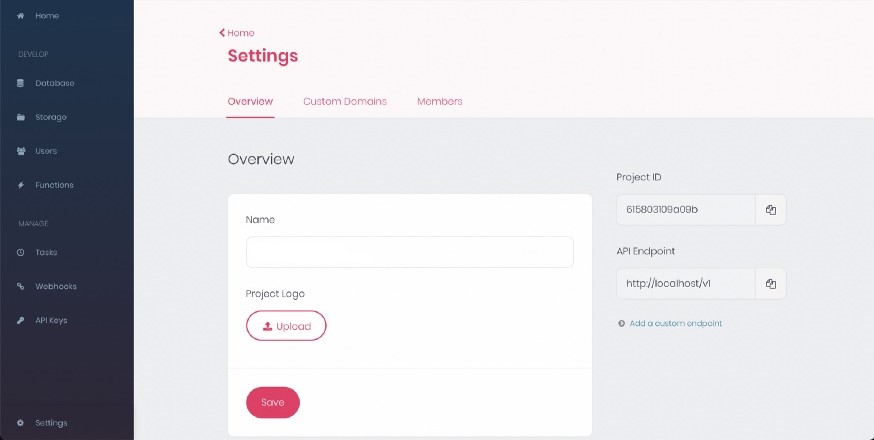
For that go to the settings of your project. You can find the button for settings at the very end of the left navbar.
There you need to keep a note of a few things:
- Project ID
- API Endpoint
Now finally our work is over from the Appwrite end. But, before that we would require the following things while setting up our application with React.
- Collection ID
- Project ID
- API Endpoint
- Anything else related to your app (User Credentials, ItemID etc)
And we're done!
Now is the time to set up React
Before integrating Appwrite into your React app. Here are few things you need to check:
- Make sure you have node installed.
- Go to your preferred directory where you want to create the react app.
Run this command in your terminal:
npx create-react-app my-app
Now, in order to interact with the Appwrite backend service we are required to install an Appwrite dependency, appwrite. It has a majority of the methods predefined so that you don’t need to worry about writing your own code from scratch while creating a fresh app.
For installing appwrite dependency, type the following in your terminal
npm i appwrite
At last, We will require one more dependency, react-router-dom. This would help us to redirect the user to the success page if the information provided by the reaches to the Appwrite backend service and to the failure page if API Call gets failed.
For installing react-router-dom dependency, type the following in your terminal:
npm i react-router-dom
Once everything is successfully installed in your project, It's the time to Get-Set-Go . Just open up the app in VsCode and you can now start building your app.
This is how you'll initialize the Appwrite web SDK
import { Appwrite } from 'appwrite'; // Appwrite SDK are imported from the node modules

// Here the JSON object will come which is sent to the Appwrite server.

let appwrite = new Appwrite(); // This initializes the Appwrite web SDK
        const server = {
            appwriteEndpoint: 'API ENDPOINT', // here, put the API endpoint that you noted
            projectID: 'PROJECT_ID', // here, put the project id that you noted
            documentID: 'COLLECTION_ID', // here, put the collection id that you noted
            // other app related database ID. (UserID, ItemID etc)
        }

        appwrite
            .setEndpoint(server.appwriteEndpoint) // this tries to connect to the running Appwrite service in the Docker containers
            .setProject(server.projectID) // this tries to connect to the specific project which we created and noted its project id
That's it, Now you can continue building you app as you do with firebase or nodeJs etc. The process will be all same from here.
So, I hope this was helpful to anyone who was thinking "How they can use Appwrite inside their react-projects". 🤔
Until then, Follow me on Twitter and Linkedin 🥰
Happy Hacking! Happy Appwriting!
